

Guest Post by Craig
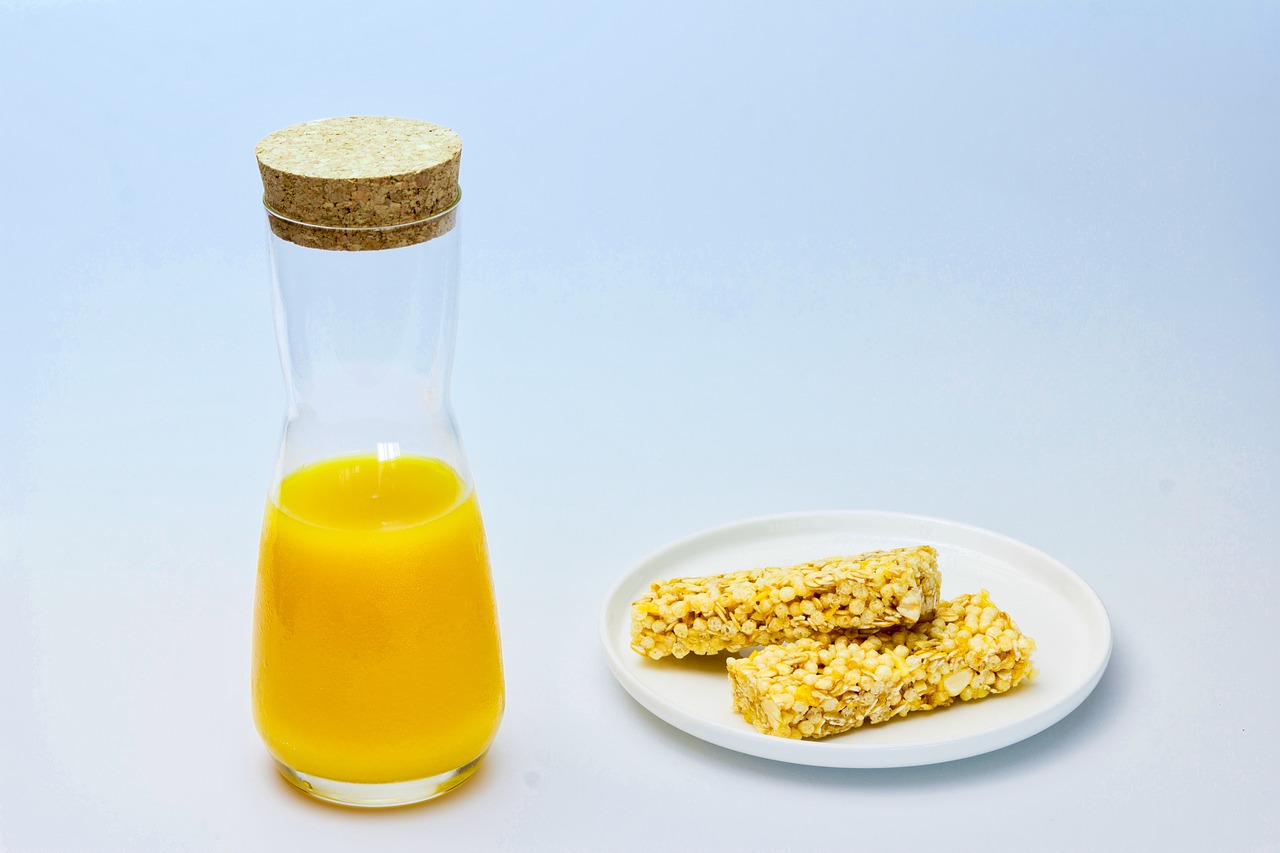
Whether you need a quick breakfast for your family or a delicious and healthy energy boost to pack into your family’s lunches, this recipe for dark chocolate and banana chip cereal bars will provide energy, nutrition, and great taste to even the pickiest of eaters. Even if baking isn’t your speciality, there is even a no bake recipe!
Items You Will Need:
- A large mixing bowl
- A baking pan, preferably 9″ x 13″
- A measuring cup
- Measuring spoons
- A food processor or blender
- A mixing spoon
- A smaller mixing bowl
- A whisk
- Nonstick cooking spray
- A sharp knife
- A cooling rack
- A butter knife
Ingredients:
- 1/4 cup of honey
- 1/4 cup of melted butter
- 1/4 teaspoon of ground cinnamon
- 1 2/3 cups of old-fashioned rolled oats
- 1/3 cup old-fashioned rolled oats that have been ground to a fine texture in a food processor
- 1/2 teaspoon of salt
- 1/4 cup of almond slivers
- 1/3 cup of miniature dark chocolate chips
- 1/2 cup of dried banana slices broken into chunks
- 3/4 cup of sugar
- 1 tablespoon of water
- 1 teaspoon of vanilla extract
Instructions:
- Preheat the oven to 350 degrees Fahrenheit. Apply a layer of nonstick spray to the baking pan. While you wait for the oven to preheat, begin to create the cereal bar mixture.
- Taking the large mixing bowl, combine the rolled oats, finely processed rolled oats, cinnamon, almond slivers, salt, sugar, mini chocolate chips, and dried banana chunks in it with a few stirs of your mixing spoon.
- In the smaller mixing bowl, combine the melted butter, vanilla extract, honey, and water with a whisk until all ingredients are blended. Once blended, pour the liquid mixture into the oats. Using your mixing spoon, combine all of the ingredients with large, circular strokes. You may even need to fold the mixture onto itself to ensure complete saturation of the liquid mixture into the dry mixture.
- Once all ingredients are mixed thoroughly, pour the mixture into the greased baking pan. Be sure to spread out the mixture evenly to all sides and corners of the pan. Using your mixing spoon or your hands, gently press the mixture down and pat it flat. You want the mixture to be very compacted inside of the baking pan. Once you’ve satisfactorily compacted the oat mixture, slide the pan into the oven.
- Bake the granola mixture for 25-30 minutes or until the outside edges begin to turn golden brown. Once the granola mixture has finished baking, use a butter knife to loosen the edges of the granola sheet from the pan. Leave it alone to cool for at least five minutes.
- Taking the sharp knife, carefully begin to cut the sheet of granola into smaller cereal bars while the granola is still inside of the cooking pan. This will not only give you a firm surface on which to cut but will also provide you with a straight line to use a reference when cutting.
- After cutting the granola sheet into bars, carefully remove the bars and place them on the cooling rack until they’re safe to eat.
Storage:
Safely and effectively storing these cereal bars for later consumption is simple. Since these are freshly baked goods, they don’t have as long of a shelf life as store-bought bars that are full of preservatives. These bars will last for up to a week when stored in a dry, cool place or inside of a refrigerator. These bars must be stored in wrapping or inside of an air-tight container. Plastic wrap is a great first option for storing the bars while maintaining their moisture and consistency. Aluminum foil is a great secondary option if plastic wrap isn’t available. One last option for cereal bar storage is the use of air-tight containers. To prevent the bars from sticking to one another, lay down a layer of wax paper between the layers of bars for easy storage and retrieval.
Bio
My name is Craig and I am an editor at CakeJournal. I spend most of my time finding every excuse test out new baking recipes. I write about everything from cake recipes to fun baking projects to vegan baking. If you can’t get a hold of me I am probably out at a restaurant or in the kitchen!
Facebook: www.facebook.com/cakejournal
Youtube: https://www.youtube.com/channel/UC04of5gPw-YIZGvL-YGXiSw
Pinterest: CakeJournal
Instagram: @cake.journal
Twitter: @CakeJournal